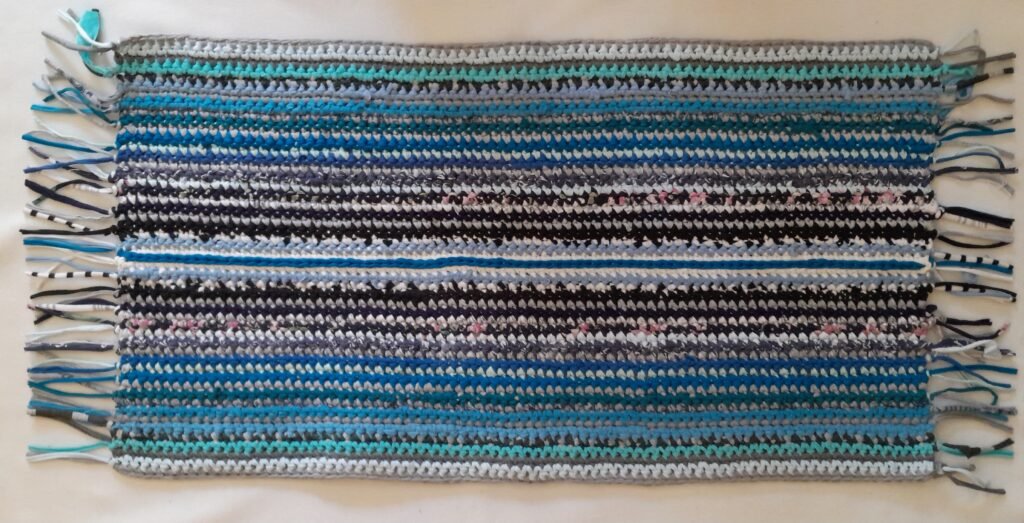
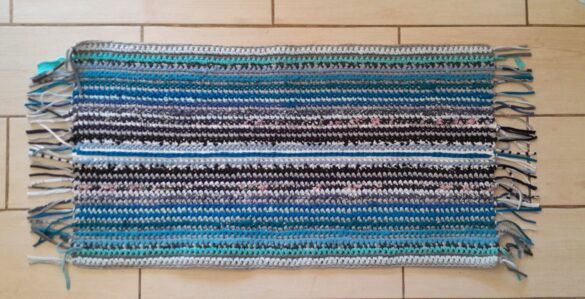
‘How to Crochet an Easy Mirroring Rug Out of T-shirt Yarn’ is a tutorial on a rug that may look intricate because of the continuous color changes, but it’s actually easy to make. By crocheting the same color row on both sides before changing colors, you won’t get confused, and the mirroring effect will be perfect. This tutorial provides detailed steps, but you can choose the size and color scheme, which adds flexibility. A related tutorial on color compilations helps you pre-arrange your palette for the best visual result. Another useful tutorial will show you how to cut the fringe symmetrically in just a few minutes.

General Information:
- Level of Difficulty: Easy
- Techniques Required: Chain stitch, slip stitch, single crochet, making T-shirt yarn, creating fringes.
- Gauge Swatch: The rug was made with a 6 mm (US I-10) crochet hook for T-shirt yarn. The gauge is 10 stitches and 12 rows per 10 cm (4 inches) square.
- Dimensions: The rug shown here was made with 80 stitches and 50 rows. The final dimensions are 80 cm (31.5 inches) by 40 cm (about 16 inches), not including the fringes.
Materials:
- T-shirt yarn from different garments and colors (For medium-sized T-shirts, try using only one side of each T-shirt.)
- A 6 mm crochet hook (or size suitable for T-shirt yarn)
- Scissors
- Measuring tape
How to Crochet an Easy Mirroring Rug Out of T-shirt Yarn- Instructions:
A. Making the rug
1. Select Your Color Scheme:
Tip: Pre-cut and arrange your T-shirt yarns to ensure a symmetrical visual effect. You can find a detailed color arrangement example for this particular rug in the color compilation tutorial.
2. Foundation Chain:
Leave a tail of about 15 cm (6 inches) and start by chaining the desired number of stitches with your first color. The number of chains will determine the width of the rug. I used 80 stitches for a larger piece. When finished, leave another 15 cm (6 inches) tail.
3


3. Row 1 – Part A:
With your first color, leave a 15 cm (6 inches) tail. Insert your hook into the last chain of the foundation chain, pull through the yarn, chain 1, and crochet 1 single crochet. Continue crocheting 1 single crochet in each chain across. After completing the row, leave another 15 cm (6 inches) tail and cut the yarn. Row 1 – Part B:
Flip your work and crochet the same color row on the opposite side, inserting the hook into the bottom loops of the foundation chain. Follow the same steps as in Part A. Once done, turn your work over to crochet the next row on the back side.
4. Row 2 – Part A:
Change to a new color and leave a 15 cm (6 inches) tail. Insert your hook into the last stitch of the previous row, pull through the yarn, chain 1, and crochet 1 single crochet. Continue crocheting 1 single crochet in each stitch across the row. After completing the row, leave another 15 cm (6 inches) tail and cut the yarn. Row 2 – Part B:
Flip your work and crochet the same color row on the opposite side, using the stitches from the previous row. Follow the same steps as in Part A. Once done, turn your work over to crochet the next row on the back side.
5. Subsequent Rows:
Repeat the process from Row 2 (both parts A and B) until you reach the desired length. For each color, you’ll be crocheting two rows, one on each side of the rug.

B. Finishing Details

1. Central Slip Stitch:
Use a different color yarn to crochet slip stitches in the central loops of the foundation chain. Leave a 15 cm (6 inches) tail and start by inserting the hook into the first loop of the foundation chain, with the yarn under the rug. Pull through and work slip stitches until you’ve covered all the loops. Leave a tail of the same length.
2. Creating the Fringe:
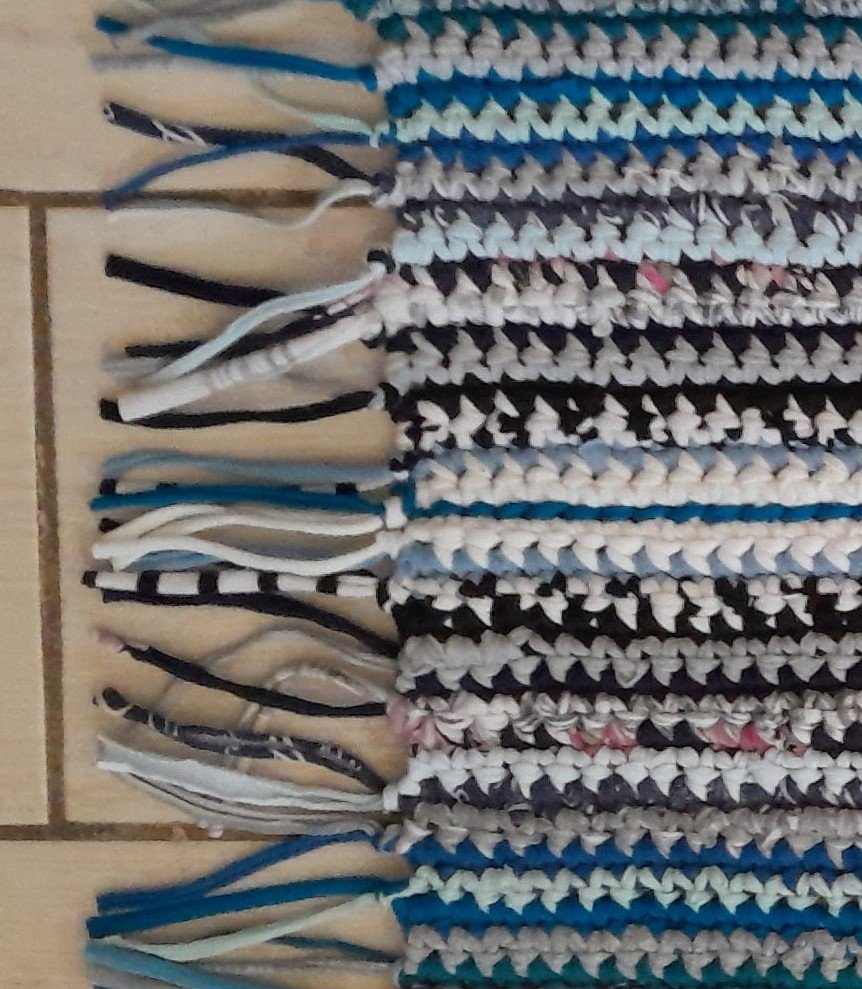
After completing the rug, tie knots using the yarn tails at each end to secure the edges. Use two tails per knot. Make sure the stitches are pulled tight before making the knots. Trim the fringes to a uniform length of about 6 cm (2 ½ inches). For an easy method to cut the fringes evenly, check the accompanying tutorial.

Learn from My Mistakes:
My first attempt on the rug was a huge failure because I had this amazing idea: why don’t I crochet at the front side only so that I have identical stitches throughout the piece? It took me a good amount of rows to realize that the idea had a major flow: the rug wasn’t progressing straight, but there was a tilt on the sides.
This is because each loop used as basis for a new stitch is not parallel to the loop created by the new stitch. By crocheting in the back and then in the front of the rug, this is balanced. Instead, by working all the way in the front, I made the rug tilt. Lesson learnt!

Conclusion:
The “How to Crochet an Easy Mirroring Rug Out of T-shirt Yarn” tutorial shows how to make a rug that looks deceptively complex. The more colors you add, the more intricate it seems, but it’s still manageable. This project is great for making larger rugs since you’re unlikely to run out of yarn (each color is used for just two rows). Plus, using T-shirt yarn makes it affordable and eco-friendly, allowing you to recycle more garments. My advice: go big with this project!


