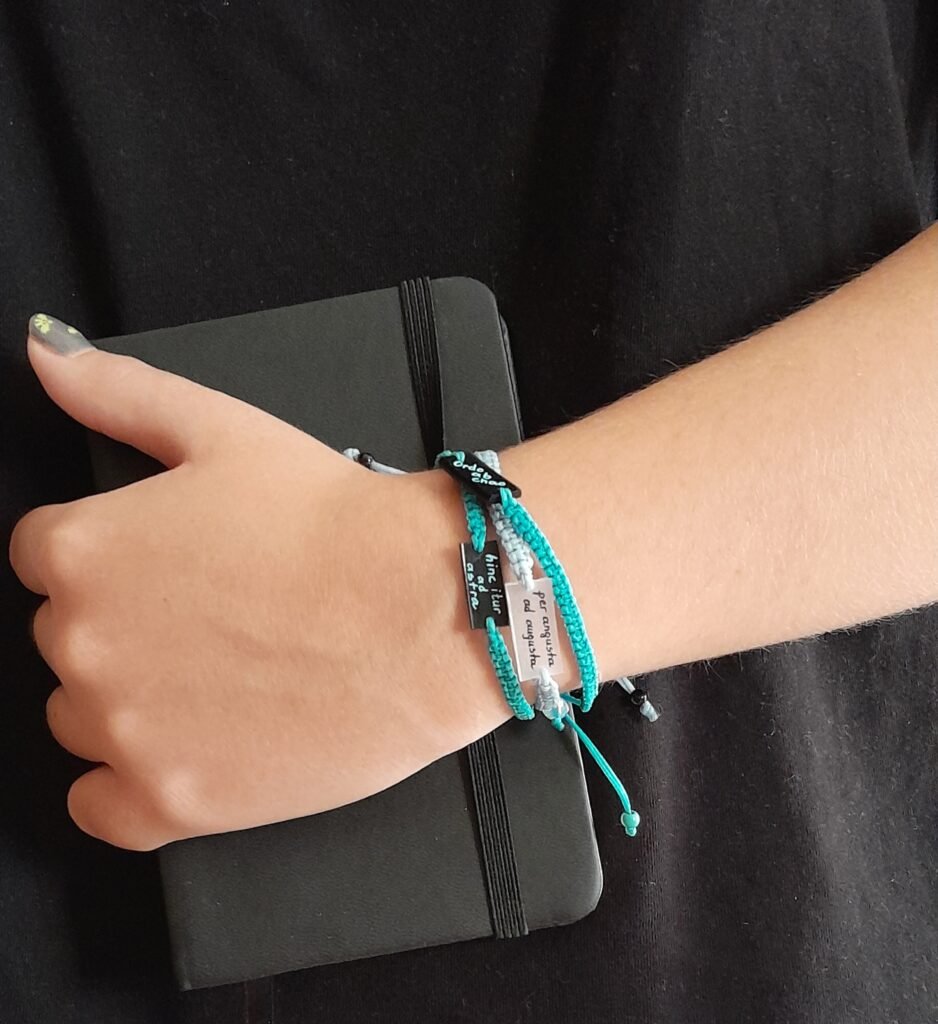
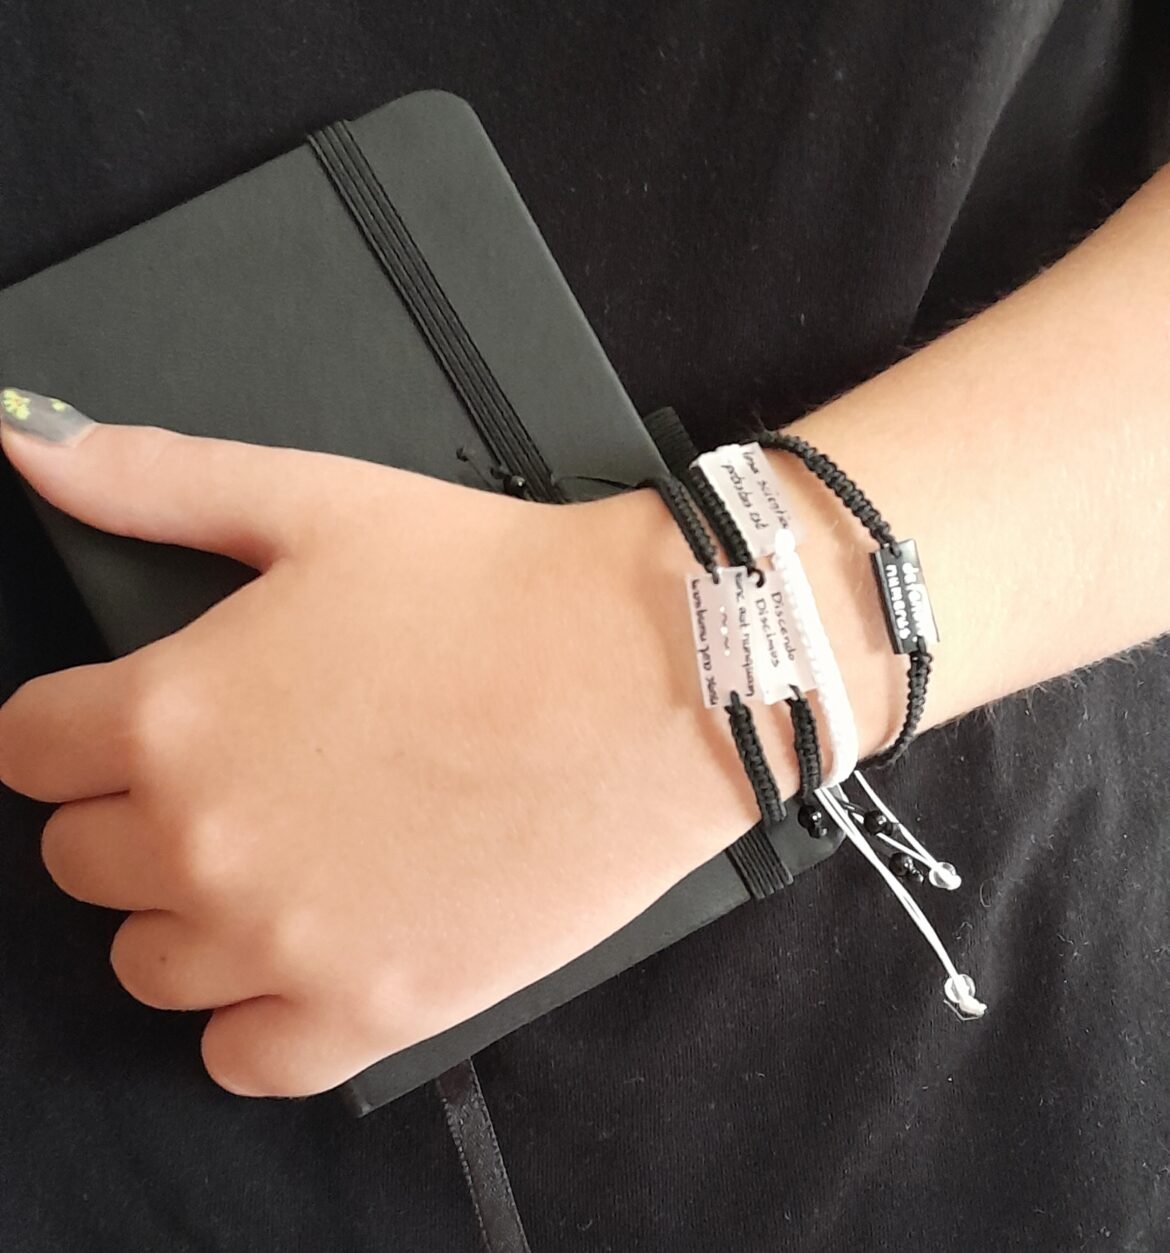
If you need to make a bunch of personalized gifts, “Making Shrink Plastic Bracelets with Unique Messages to Gift” might be your solution. The inscriptions on the shrink plastic centerpiece can be anything from the names of kids invited to a birthday party, to heartfelt wishes for loved ones, a group motto, or meaningful quotes dedicated to a select few. The cost of making them is minimal compared to the satisfaction of crafting something truly personal for the recipient.
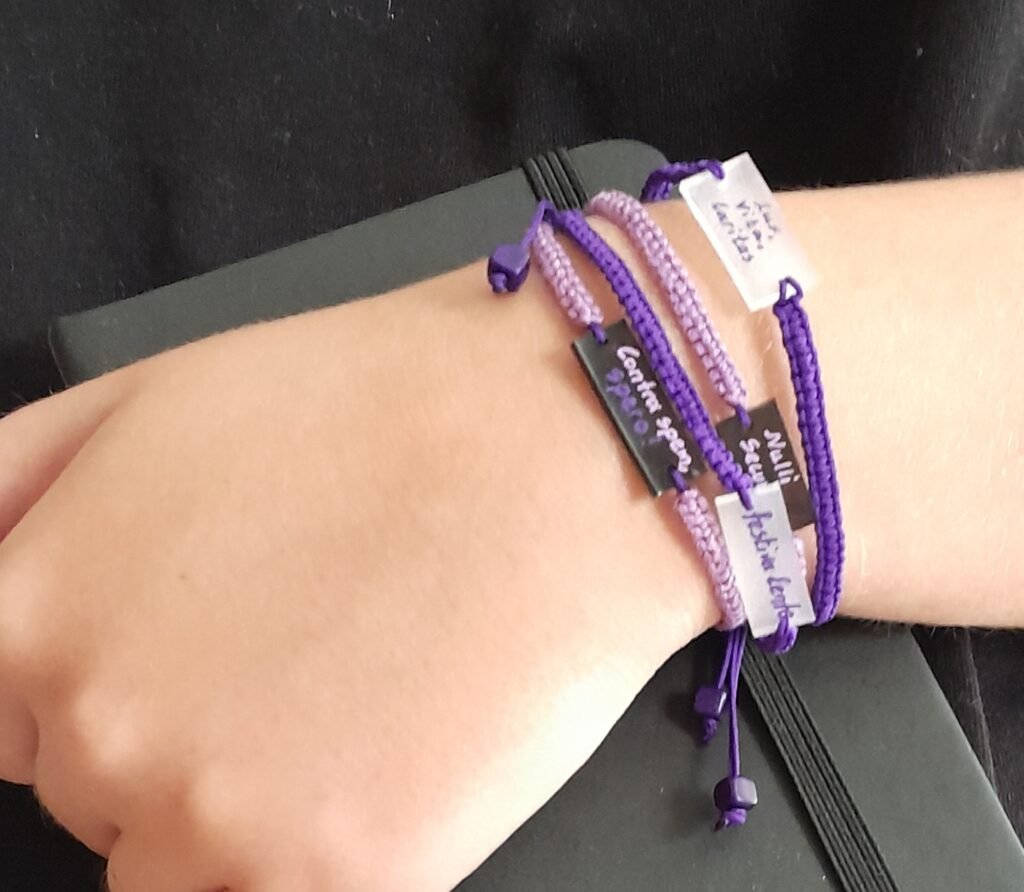
For this particular tutorial, the idea came from a waitress with an obscure tattoo. I had to ask her what was written on her hand, and she revealed it was a Latin quote. I found it very clever—something written in plain view, yet only those she chose could understand its true meaning. That’s how I got the idea to make bracelets with quotes in Latin. The quotes would be both obvious and mysterious, allowing the wearer to control the meaning of something special to them. Chinese ideograms or ancient Greek phrases or would also be great options (if I weren’t living in Greece!).
Pinterest is an endless source of ideas for quotes in any language. I also found a lot of inspiration for this tutorial on Wikipedia’s List of Latin Phrases. If you are new to shrink plastic, you might find my introductory article on this material useful, and don’t worry about the strap—there’s a relevant tutorial for that too.
So, let’s get started, shall we?
Making Shrink Plastic Bracelets with Unique Messages to Gift
Level: Easy
Materials:
- Shrink plastic sheets (I used both black and transparent)
- Permanent markers (Sharpies or Posca markers with a fine tip)
- Thin waxed string or thin nylon string for macrame (alternatively, embroidery thread or thin cotton knitting yarn)
- Scissors or a box cutter with a ruler to cut the strips
- Single hole punch
- Small beads for decorating the ends (optional)
- Small metal binder clip to hold the piece while working the knots
Techniques: Square macrame knot, macrame clasp

A. Making the shrink plastic pieces
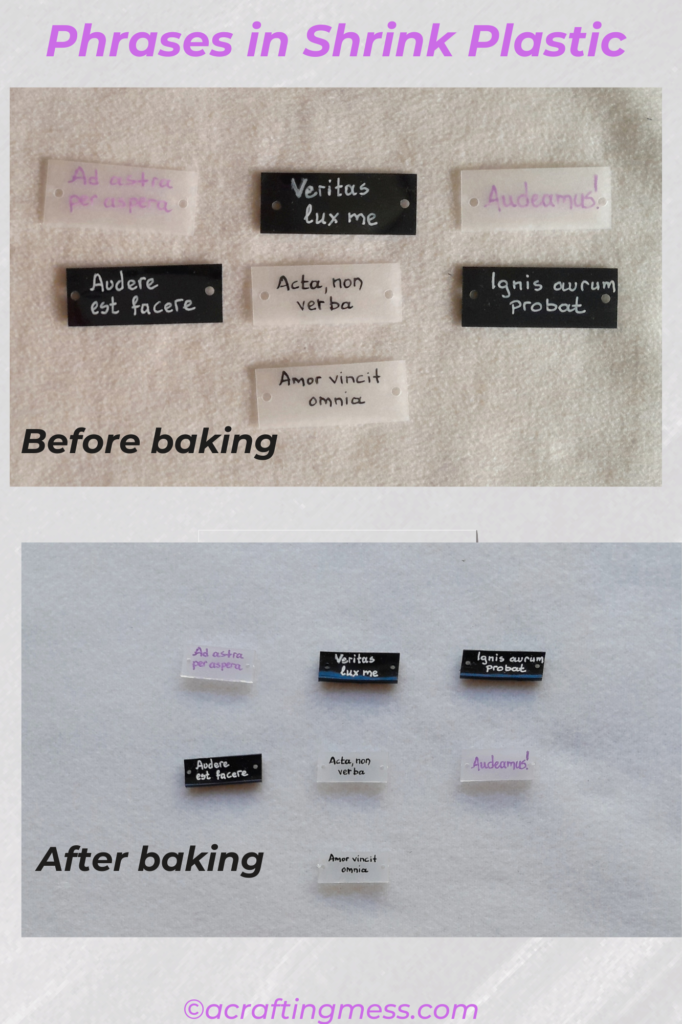
1. Cut the strips: Cut strips of shrink plastic measuring 5×2 cm (about 2×0.8 inches). After baking, they’ll shrink to approximately 1.75×0.75 cm (0.7×0.3 inches).
2. Punch the holes: Punch holes in the middle of the two shorter sides. It’s a good idea to punch the holes first so you can adjust your lettering and avoid wasting a strip if the holes are misaligned.
3. Write your messages: Use a scrap piece of paper with the same dimensions to check the placement of your text. This prevents ruining your plastic strips with incorrect placement.
4. Bake the strips: Follow the manufacturer’s instructions for baking. For my plastic, it was 1-2 minutes at 150°C. If they curl after baking, quickly press them flat with a jar lid while they’re still hot.
B. Making the straps
5. Prepare the straps: Cut 4 pieces of string, each 50 cm (19.7 inches) long. For each strap, thread two strings through each hole. If it’s difficult, heat the string ends with a lighter to soften the plastic and elongate them. Trim the ends and try again.
6. Adjust and knot: Arrange the two central strings at 15 cm (5.9 inches) to form the bracelet straps, and the other two at 35 cm (13.8 inches) for knotting. Use the binder clip to hold the shrink plastic steady and work the knots.
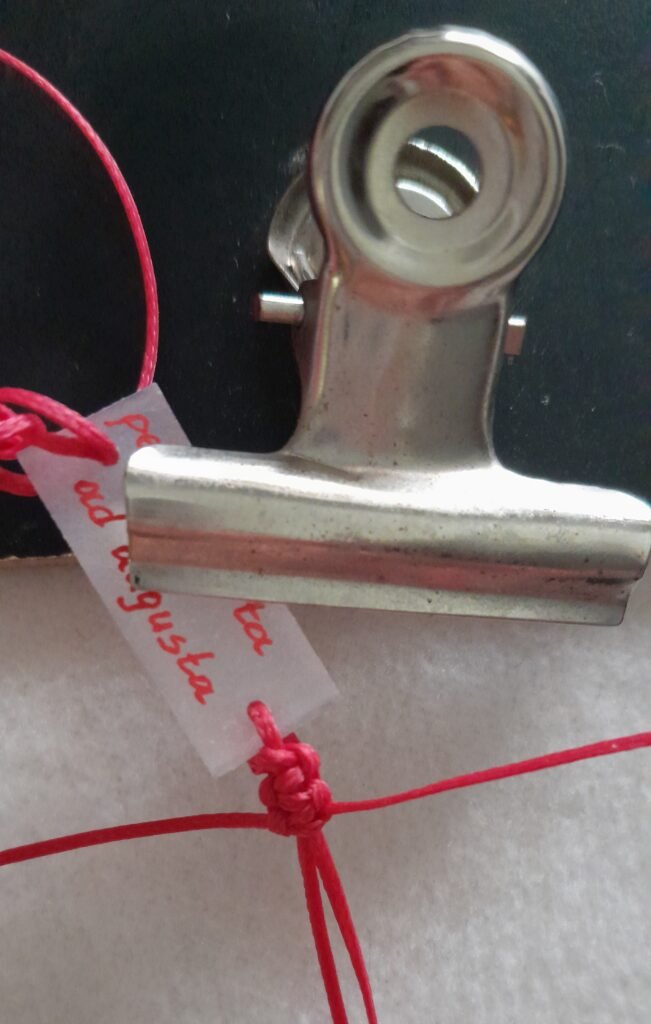
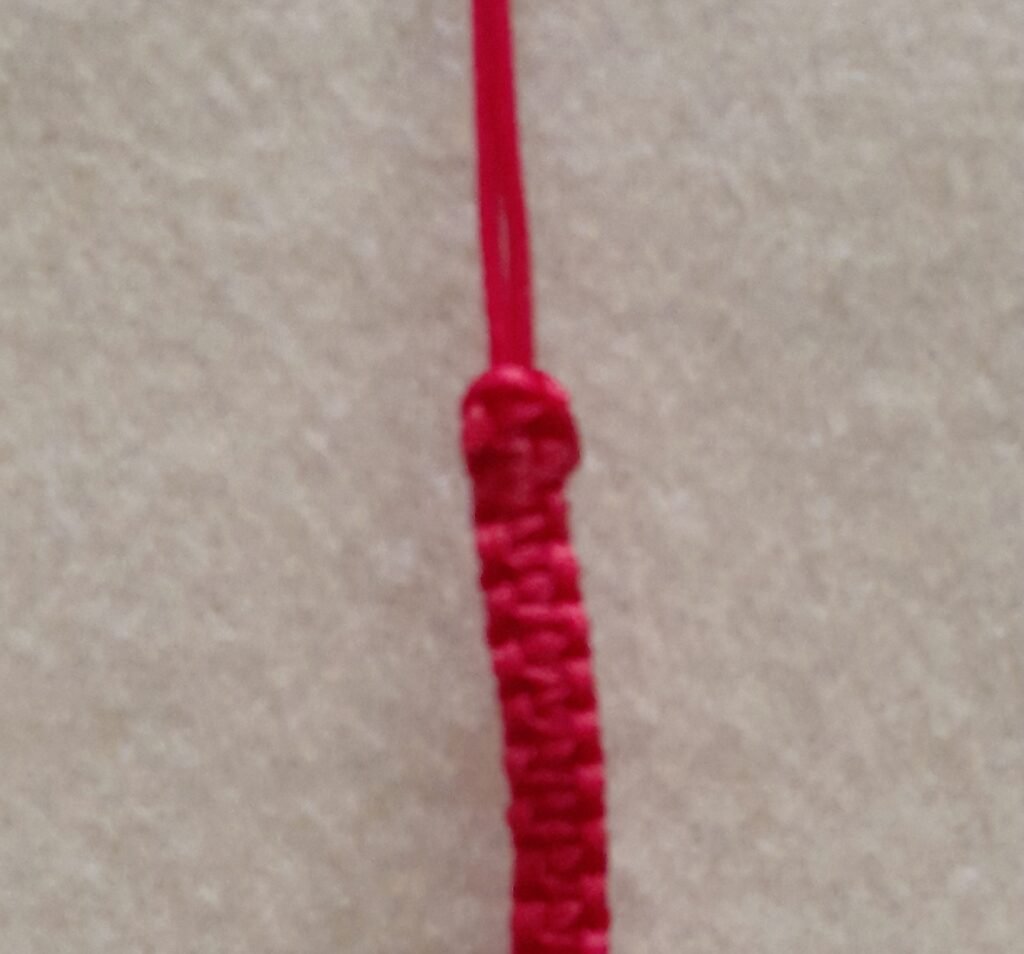
6. Make macrame knots: Tie square macrame knots for about 5-6 cm (2 to 2.4 inches). Refer to the macrame knot tutorial if needed. After reaching the desired length, pull the ends tight, trim them, and secure with heat (a lighter is the easiest way out). Press the heated ends on the reverse side of the strap using the metal part of the lighter.
If you’re using cotton thread, pull the ends tight, apply a drop of glue to secure them, and trim the excess after the glue dries.
7. Repeat on the other side: Follow the same process on the other side of the bracelet.
C. Making the clasp
8. Add beads (optional): String a bead onto one pair of strings, leaving about 5 cm (2 inches) of slack. Tie a knot, trim the strings, heat the ends, and press them onto the knot. Repeat on the other side. When fully open, the bracelet should slip comfortably over the palm. Adjust the string length before final trimming.
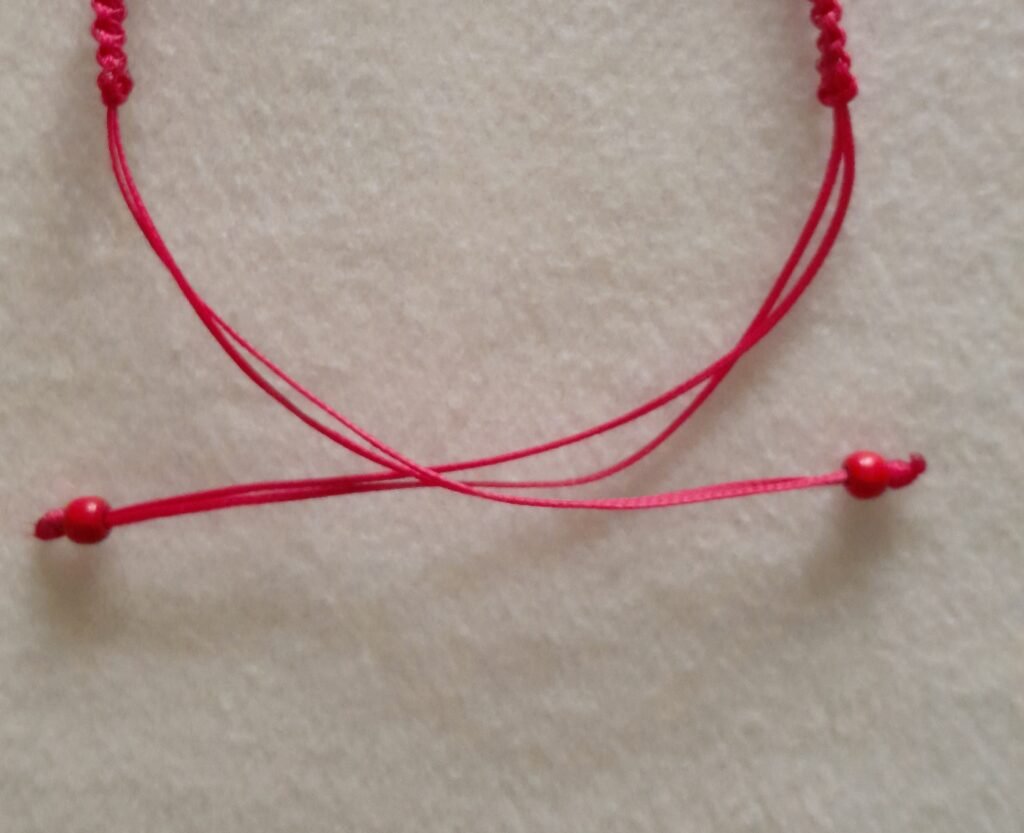
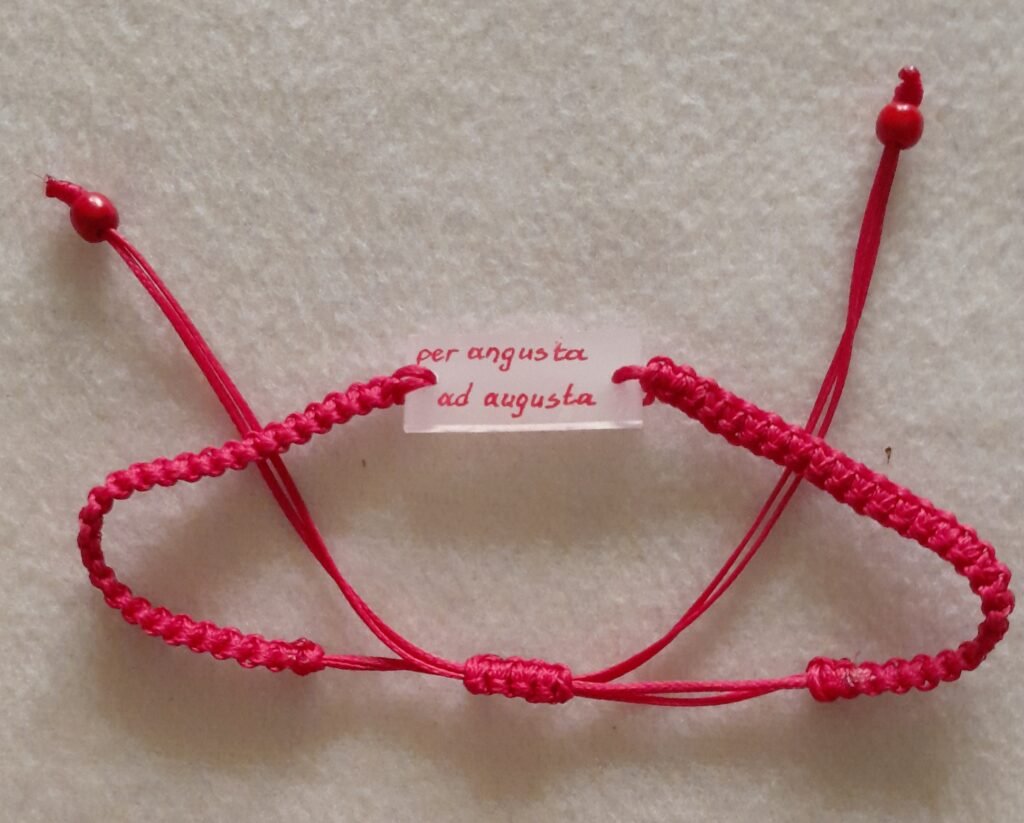
9. Create the clasp: Bring the four string ends together, with two facing up and two facing down. Tie a leftover string (about 14-15 cm or 6 inches) around them and make 4-5 macrame knots. Secure and trim the excess string as you did in step 7.
D. Presenting the bracelets
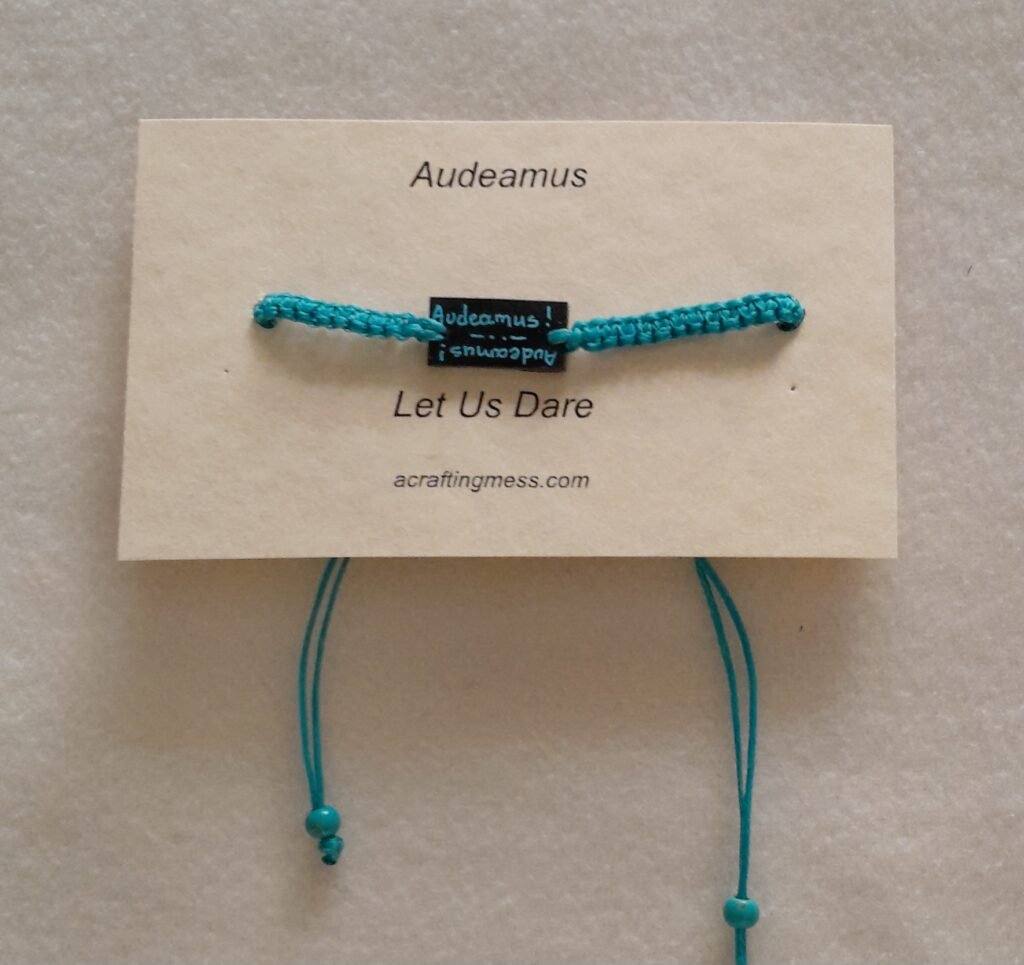
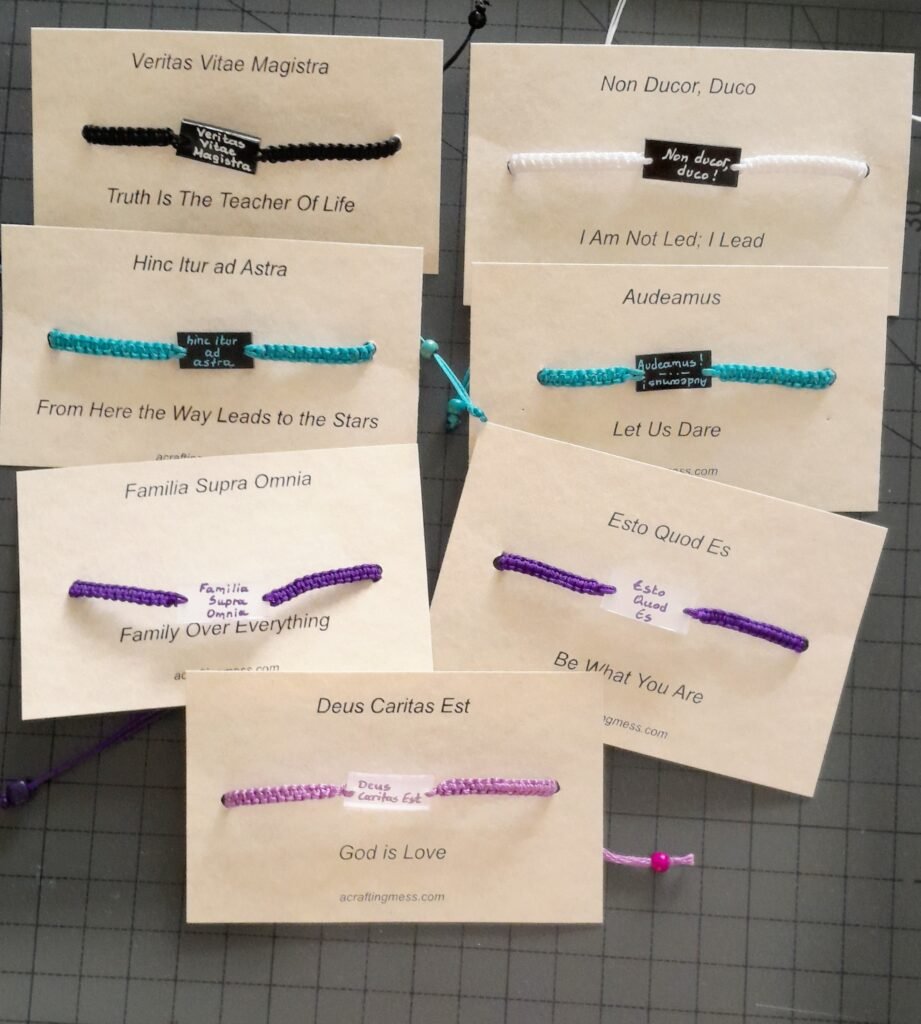
If you’re using quotes in a foreign language, it’s a good idea to include a translation with the gift so the message is clear. You could simply add a slip of paper in the package, or go for a more creative presentation, like in the picture here.
To achieve this look, I printed the quotes on rectangular cards, punched two holes in the center of each card, and threaded the bracelet through. I completed the clasp after positioning the bracelet on the card.
Making Shrink Plastic Bracelets with Unique Messages to Gift can feel magical to those unfamiliar with the technique. The writing appears so delicate and miniature, while the macrame knots add a unique detail that makes each bracelet exceptional. If you’re pressed for time, you can reduce the macrame or skip it entirely—just use one thicker cord and double it up as a strap. It’s up to you!
Once you start making these bracelets, consider creating extras—you’re likely to get requests, especially since they look fantastic when worn in pairs or sets. I’d love to see how you use this idea, and I would be delighted to see photos of your creations!
