The Square Knot is one of the essential macrame knots and is ideal for bracelets, keychains, or necklaces because it creates a symmetrical, sturdy effect. In bracelets, it’s often used to create “straps” around a central piece. It’s also useful as a closure in string-based jewelry since it’s decorative but still allows for adjusting the fit. In this Basic Macrame Knots – Square Knot for Bracelets Tutorial, we’ll cover the steps to master this knot. The video will show you the movements needed to form the knots.
Bracelet Straps
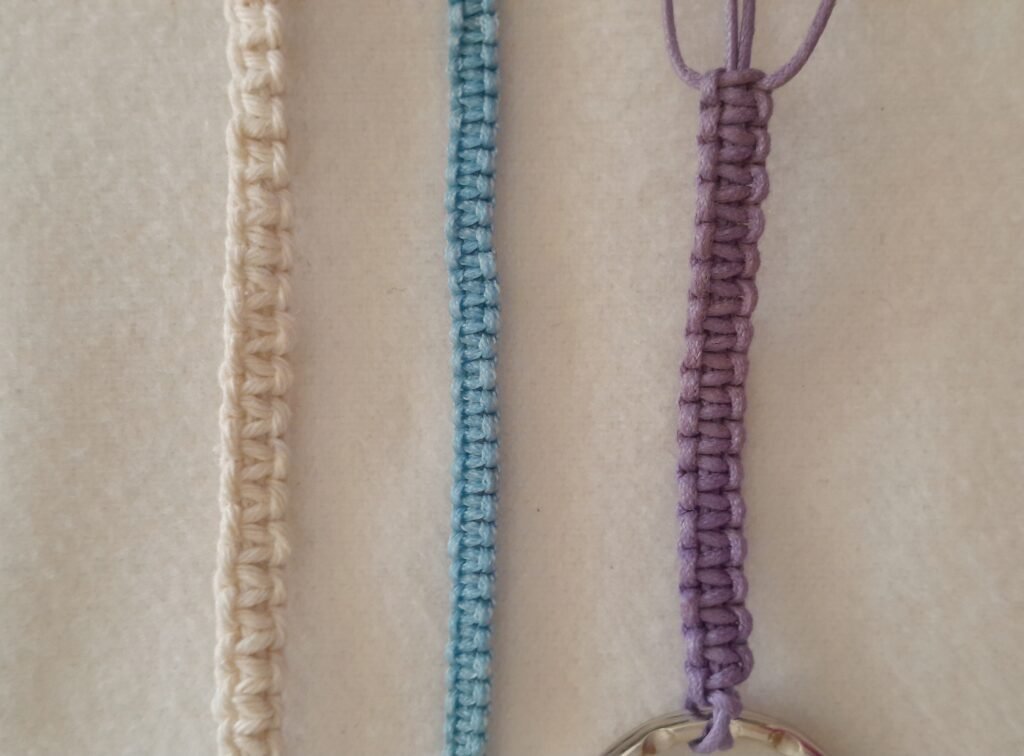
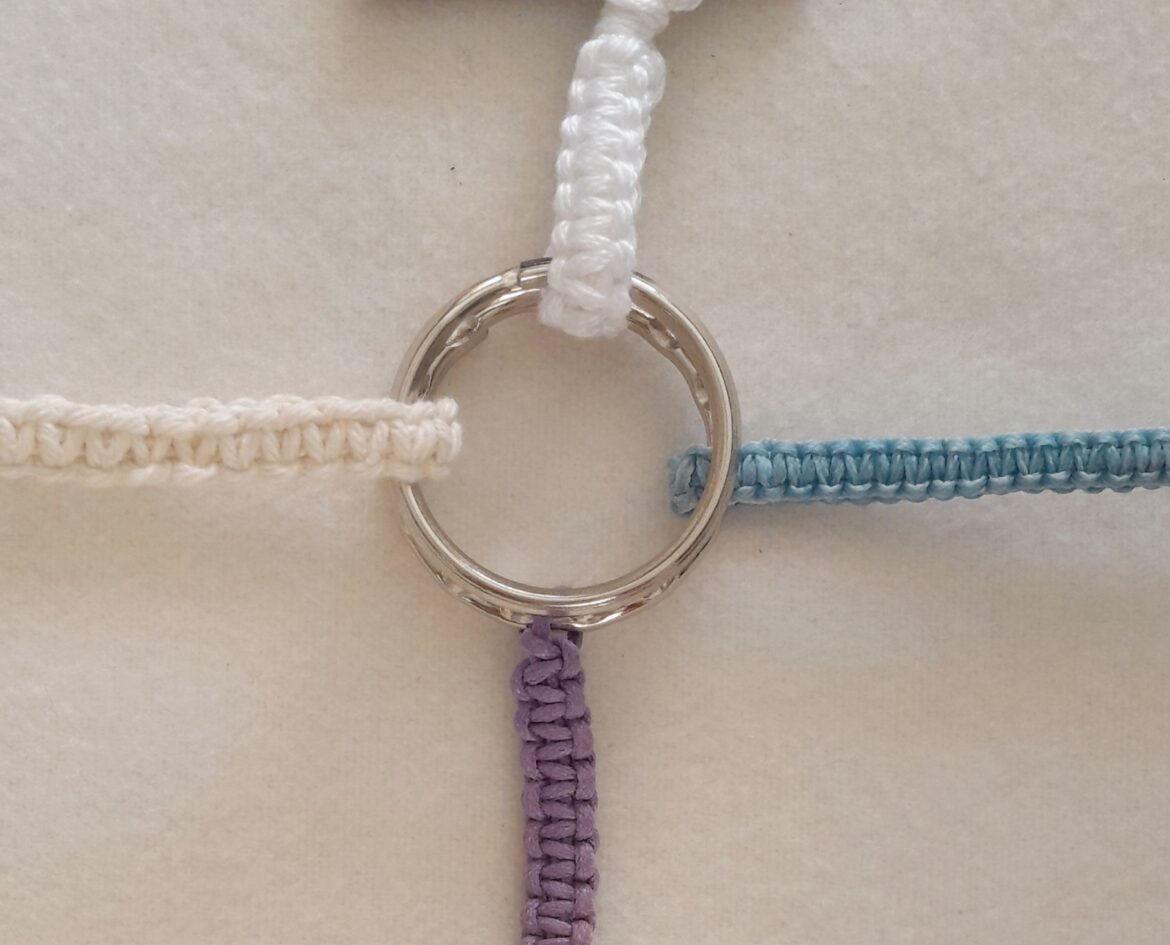
(Note: The pictures illustrate thicker cotton cords of two colors for better understanding of the steps.)
1. For each strap, cut two cords, each roughly 5 times the desired length of your strap (e.g., for an 8 cm strap, cut cords of 40 cm).
2. Place the two cords through the hole of your central piece — now you have 4 cords (in the photos, the central piece is substituted with a keychain ring).
3.Designate the two middle cords as the base. These cords will determine the length of your straps, while you macrame with the other two cords. Make a simple knot to hold everything in place.


4. Bring the left working cord (purple) over and to the right of the two base cords, then place the right cord over it (light blue).
5. Bring the right working cord (light blue) under the base cords and through the loop formed by the left cord (purple)


6. Pull tight — you’ve completed the first half of the Square Knot. It may look slightly uneven, but it will adjust as you continue. Straighten the cords if necessary.
7. For the second half, bring the right working cord (purple) over and to the left of the two base cords.
8. Place the left working cord (light blue) over the right cord.


9. Bring the left working cord (light blue) under the base cords and through the loop formed by the right cord (purple).
10. Pull the cords tight, completing the Square Knot. Repeat steps 4-10 as needed to reach your desired strap length.

Finishing the Strap

11. Once you’ve finished, trim the left and right working cords, leaving about a 1 cm allowance. If your cords are plastic, use a lighter to heat the ends, then press them against the back of your macrame piece using the metal edge of the lighter. Be cautious — the cord may ignite, so press it quickly to extinguish the flame. Repeat with the other end.
If your cords are cotton, pull them tight and use a small drop of glue to secure the ends to the back of your piece. Wait until the glue dries before trimming any excess cord. In the photo, the ends were glued.

Tip:
To maintain symmetry, alternate between the right and left working cords. If you make a mistake, don’t worry — just undo the last few knots and correct it. If you’re unsure which side to work on, check the edges. The next cord to use will be the one under the prominent knot. A helpful trick is to use the cord on the side where the edge is raised (I like to think of this cord as “neglected” because it was hidden under the previous knot — now it’s time to bring it back into action).
Learn from My Mistakes:
The biggest challenge in macrame is not having enough cord to work with. Although the general rule is to use cords four times the finished length of your project, sometimes this isn’t enough, especially for longer pieces. I’ve ruined several half-finished projects because of this mistake, and it can be frustrating.

One solution is to switch between the cords you’re using. You can swap the base cords with the working cords (as long as there is enough length left to work with). To do this, reverse the middle right cord with the outer right cord, and do the same on the left side. This will give you a little extra length to finish your piece.
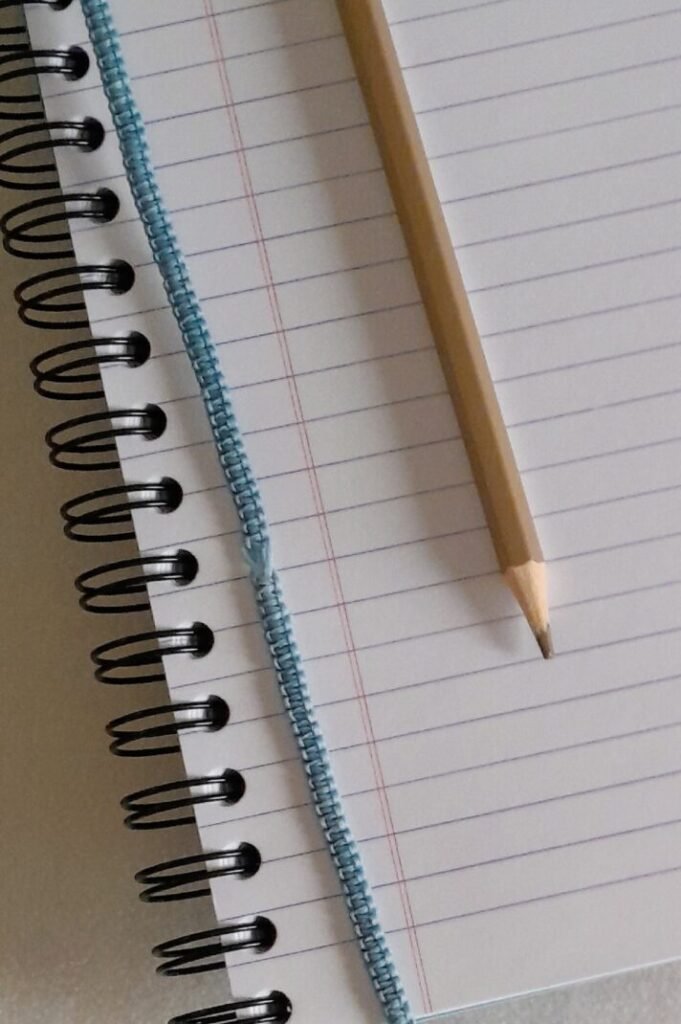
The result may be noticeable but not too obvious — unless you want it to be! Here’s an example from my notebook binding tutorial: when I realized I was running low on cord, I made the switch intentionally, turning it into a design feature.
Bracelet Clasp
To make the clasp, bring the remaining four ends of the cords together, with two facing up and the other two facing down. Tie a leftover string of about 14-15 cm around all of them and make 4-5 macrame knots. Trim and secure the excess thread as described in step 11.
Conclusion to Basic Macrame Knots – Square Knot for Bracelets Tutorial

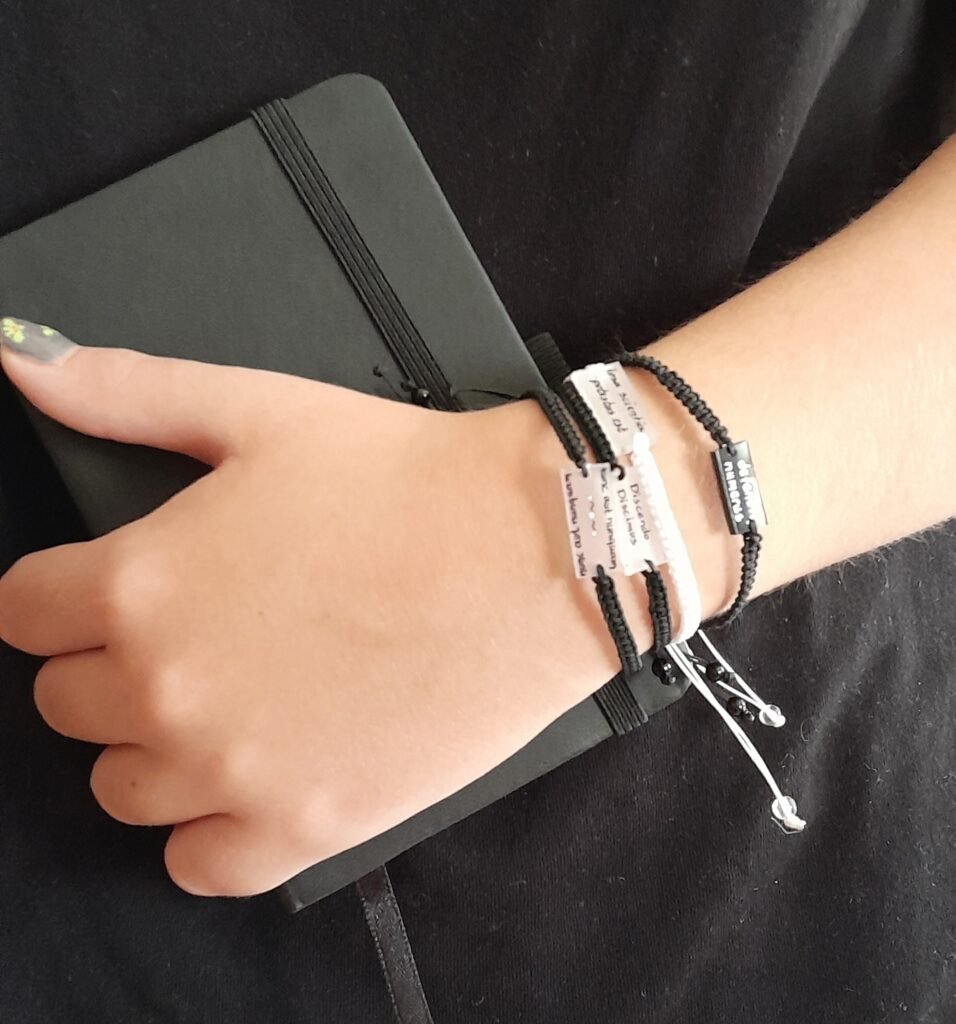
This Basic Macrame Knots – Square Knot for Bracelets Tutorial will be helpful for creating a variety of bracelets, but the basic technique can also be used for other crafts, like keychains, belts and details on decorative items. The bookmarks from my notebook binding tutorial were made with this knot- you might want to give them a try. And you will definitely find the tutorial helpful for making the bracelets coming up- here is a sneak peek:


