
Taking a sandwich for a snack at school or work is a common ritual for many people. In “School Supplies: Make the Easiest Reusable Sandwich Wrappings,” I want to introduce a practical, eco-friendly solution for your food storage needs. This tutorial offers two options for making reusable sandwich wraps: one that requires no sewing, and a slightly more advanced option for those who want to sew. Both are simple and cost-effective to implement.
Why Make the Easiest Reusable Sandwich Wrappings?
- Eco-friendly: No more plastic wrap or aluminum foil to throw away.
- Budget-friendly: You can repurpose fabrics you already have.
- Dual function: The wrap can double as a placemat for your dining surface.
- Easy to clean: Wipe it clean or toss it in with your regular wash.
- Customizable: Adjust the size to fit your sandwiches perfectly.
- Beginner-friendly: Even the sewing option requires minimal effort.
- Stylish: You can use fabrics and details that match your personal style.
School Supplies: Make the Easiest Reusable Sandwich Wrappings- Non-Sew Option
Skill Level: Easy
Techniques: None
Materials:
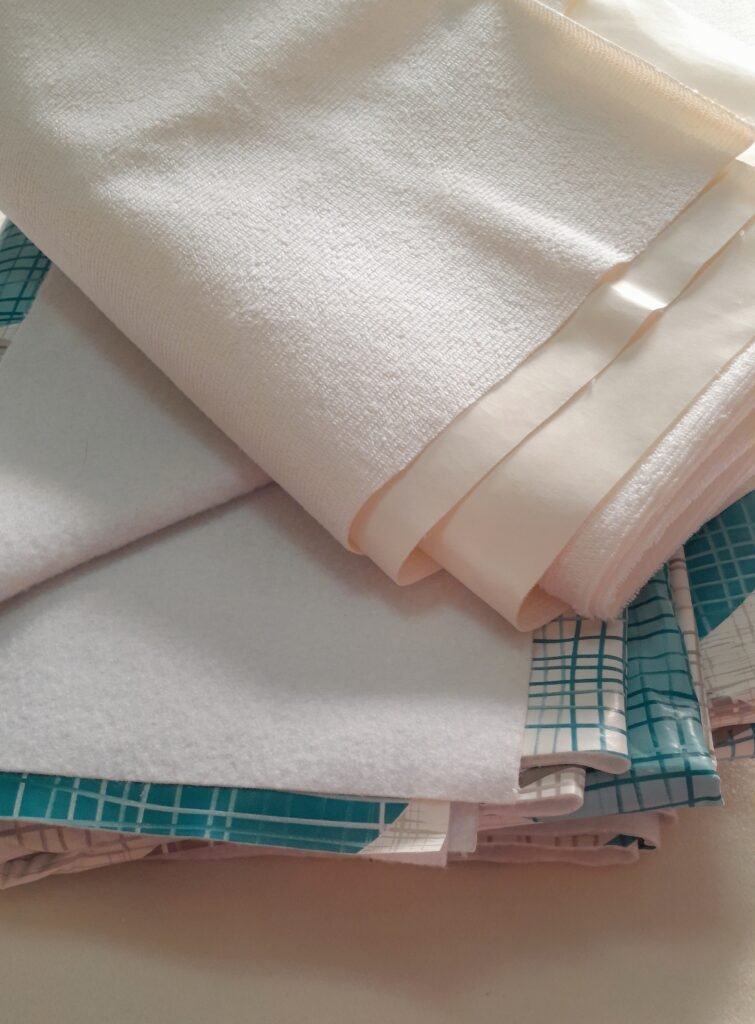
- Waterproof textiles of medium texture that do not frail, like change mat fabrics or tarpaulin table covers.
- Cotton yarn (approx. 2.5 gauge) for tying
- Scissors, ruler, and measuring tape
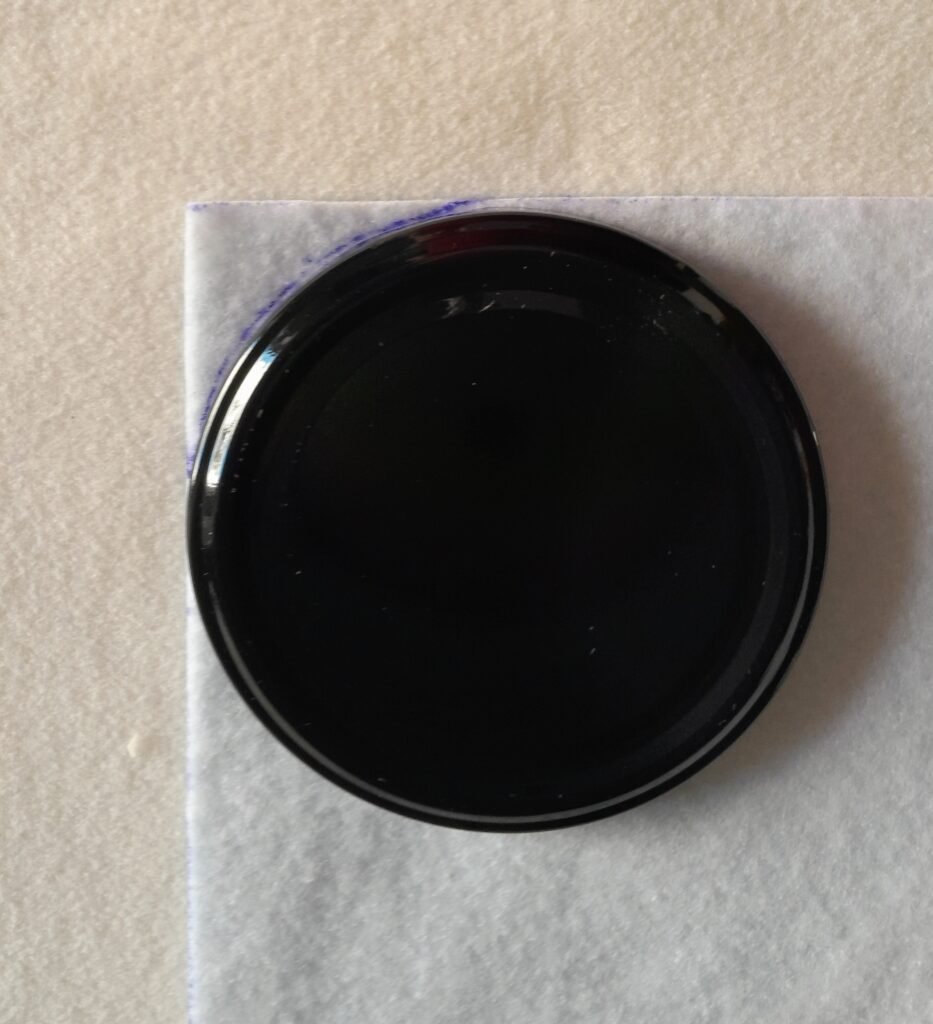
(Optional: Circular object like a jar lid for rounding corners)
Steps:
- Measure Your Sandwich: Determine the dimensions of your largest sandwich. Multiply its width by 3,5 or 4 to get the width of your wrap. Do the same with the height to get the length. The larger dimensions will allow the wrap to be used as a placemat.
2. Mark and Cut: Use washable markers to mark the dimensions on the fabric. Optionally, round the corners with a circular object. Cut out the fabric.
3. Attach Yarn: Cut a piece of yarn long enough to tie around your sandwich securely. Insert the yarn through the fabric 1 cm from the edge in the middle of one short side using a needle, then tie a knot at both ends near the fabric.
4. Ready to Use: Your non-sew wrap is finished. Pack your sandwich and enjoy!

School Supplies: Make the Easiest Reusable Sandwich Wrappings- Sewing Option

Skill Level: Easy
Techniques: Basic Machine Sewing
Materials:
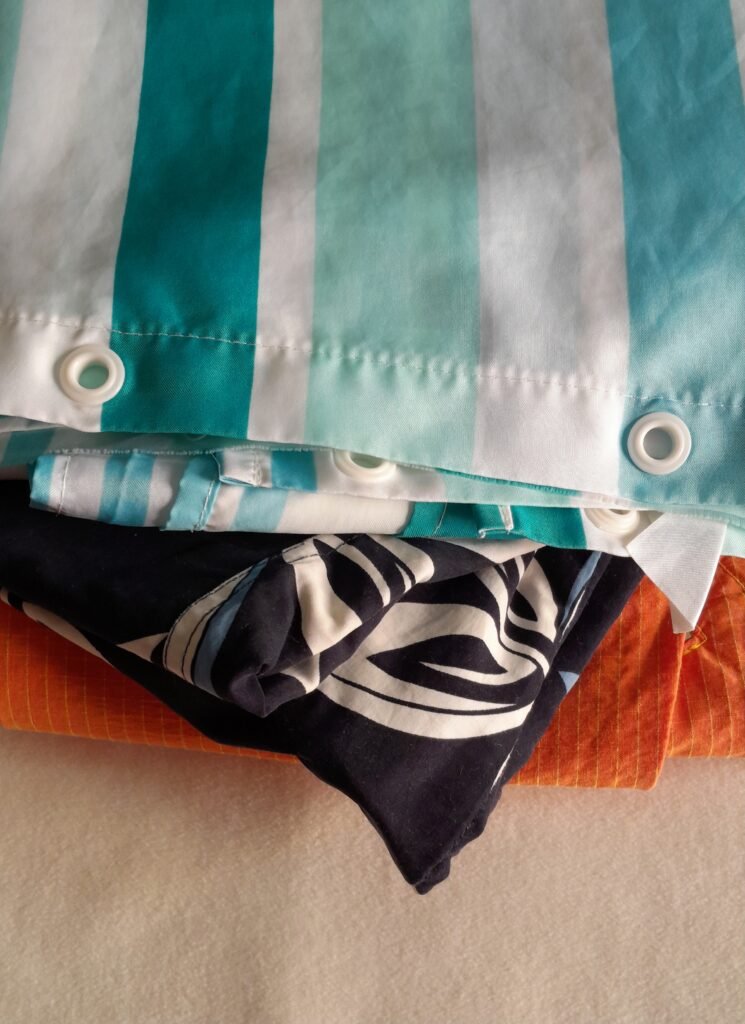
- Waterproof fabrics of lightweight texture, like: anoraks, bathroom curtains, men’s swimwear, waterproof tablecloths.
- Self-adhesive interfacing (optional, for lightweight fabrics)
- Cotton yarn (approx. 2.5 gauge) for tying
- Sewing machine, matching thread, needles, pins
- Scissors, ruler, and measuring tape
Steps:
- Measure Your Sandwich: Follow the same guidelines for measuring as the non-sew option. The ones in the pictures meazure 40 x32 cm (about 16x 12,6 inches)
- Mark and Cut: Mark your fabric pieces with washable markers, adding a 1.5 cm (about 1 inch) seam allowance. Cut out two pieces of fabric.
3. Interface (Optional): If your fabric is very lightweight, iron self-adhesive interfacing onto one or both pieces for added structure.
4. Pin and Sew: Pin the two fabric pieces together, right sides facing each other. Sew around the edges, leaving a 5 cm gap at the centre of one of the short sides.

5. Trim and Snip: Trim the seam allowances down to about 0.5 cm. If you have corners, trim them at an angle. For curved corners, make small snips into the seam allowance to help the fabric lay flat.
6. Turn and Press: Turn the fabric right side out and press the seams flat. Fold the raw edges of the opening inward and iron them flat.

7. Attach Yarn: Cut a piece of yarn long enough to tie around the sandwich. Pin it in place at the center of one short side, 1 cm from the edge.
8. Topstitch: Starting at the opening, sew around the entire edge, 0.5 cm from the edge. When you reach the yarn, sew back and forth a few times to secure it.
9. Finish: Your reusable sandwich wrap is ready to use! Enjoy your snack in style.

Conclusion
Congratulations on creating your own reusable sandwich wrap! By following this tutorial, you’ve made a practical, environmentally friendly item that helps reduce waste and can be customized to suit your personal style. Whether you opt for the no-sew or sewing version, these wraps are easy to make and can be used again and again. Plus, stay tuned for an upcoming tutorial where we’ll add a touch of crochet for a decorative finish!