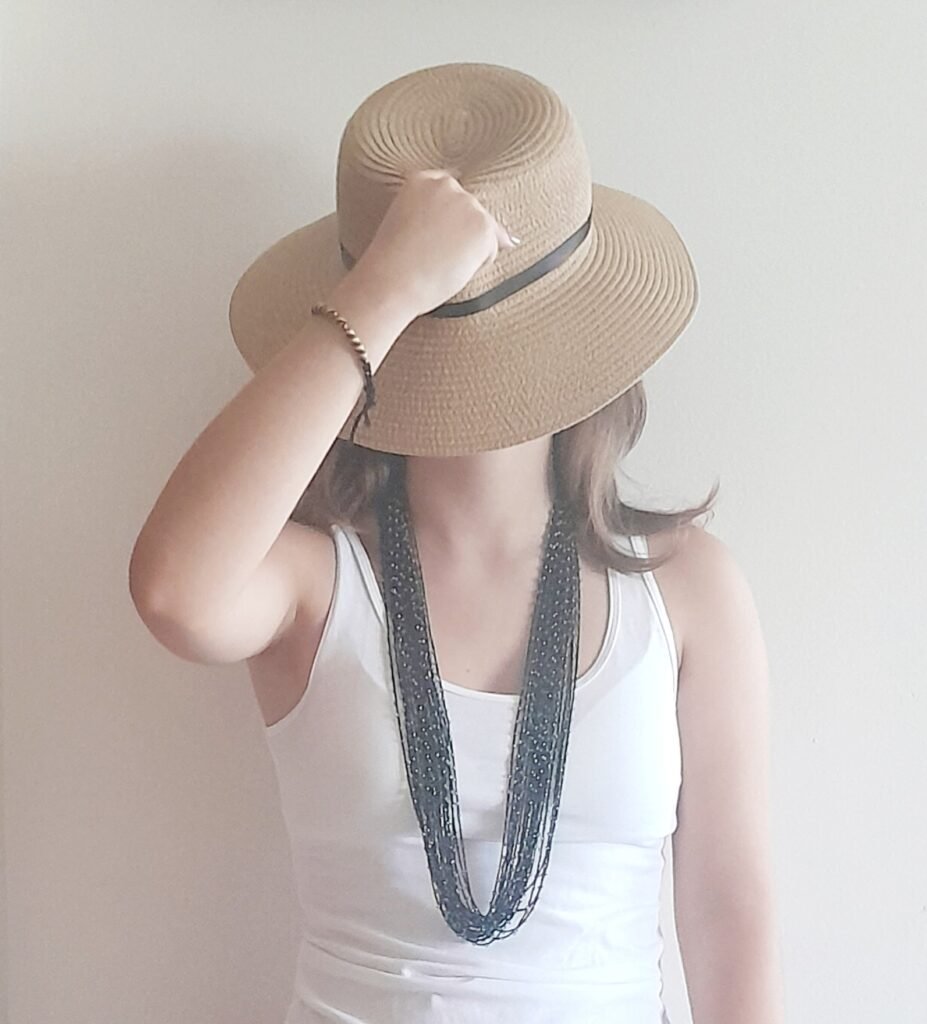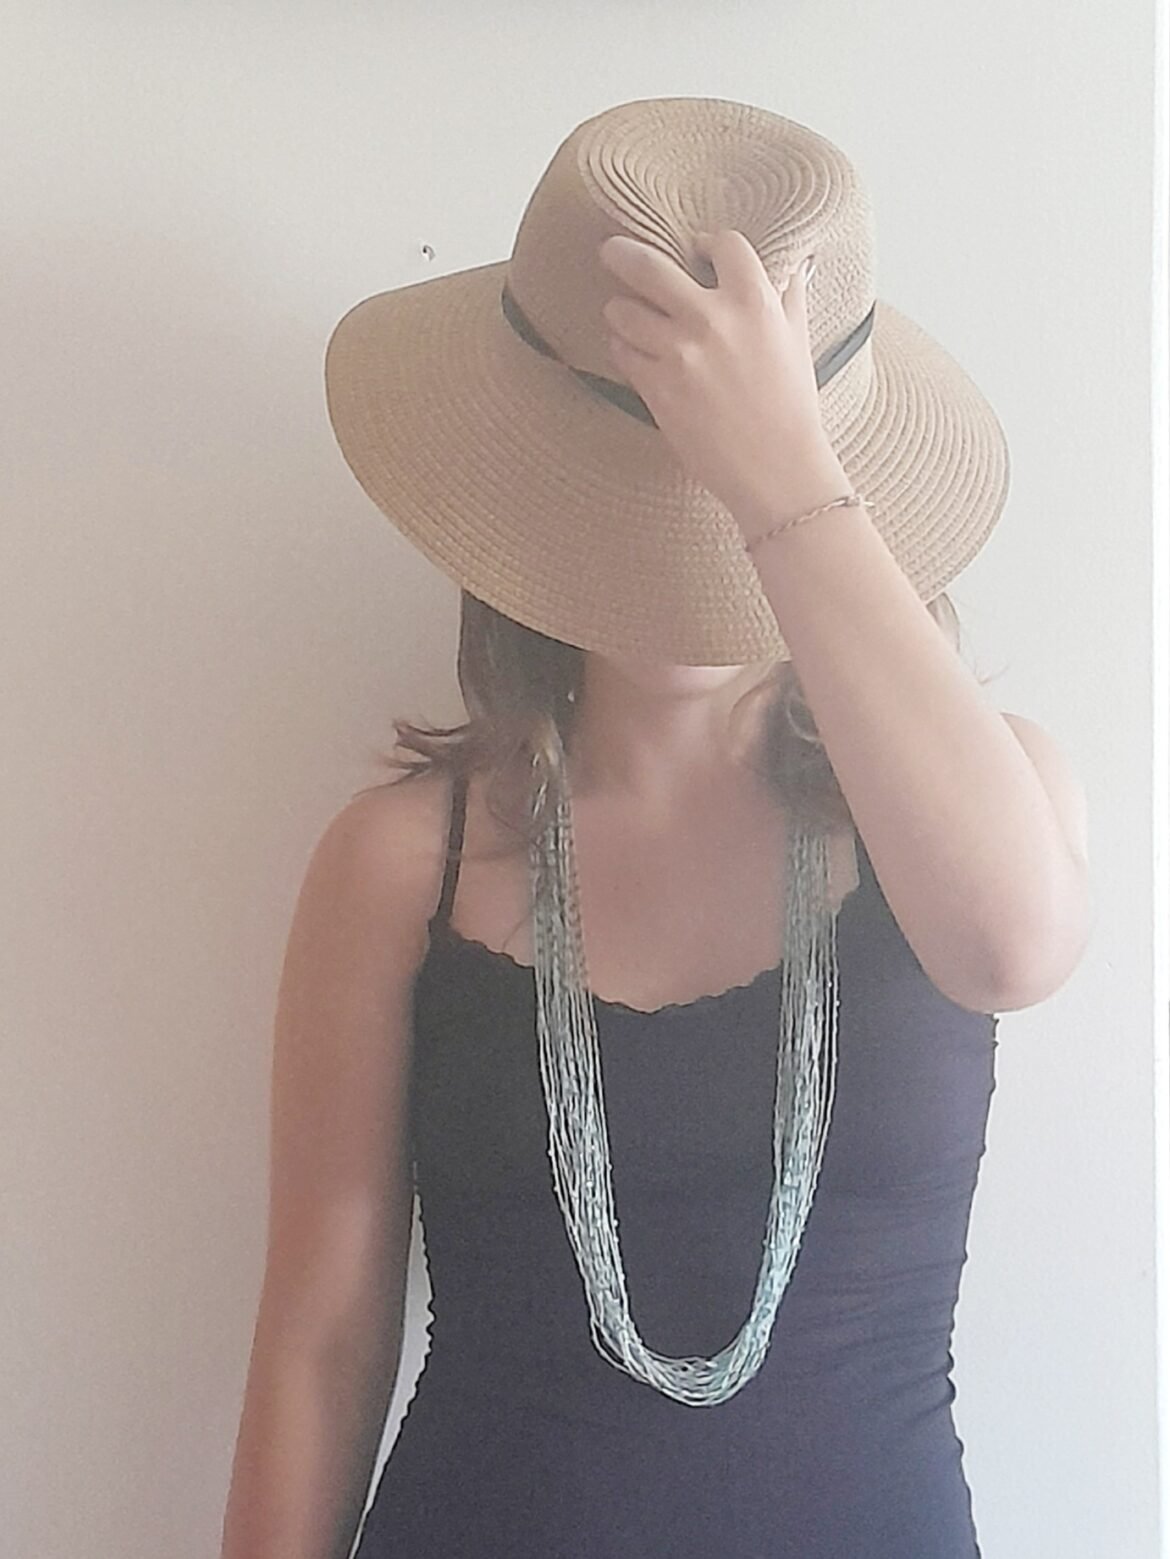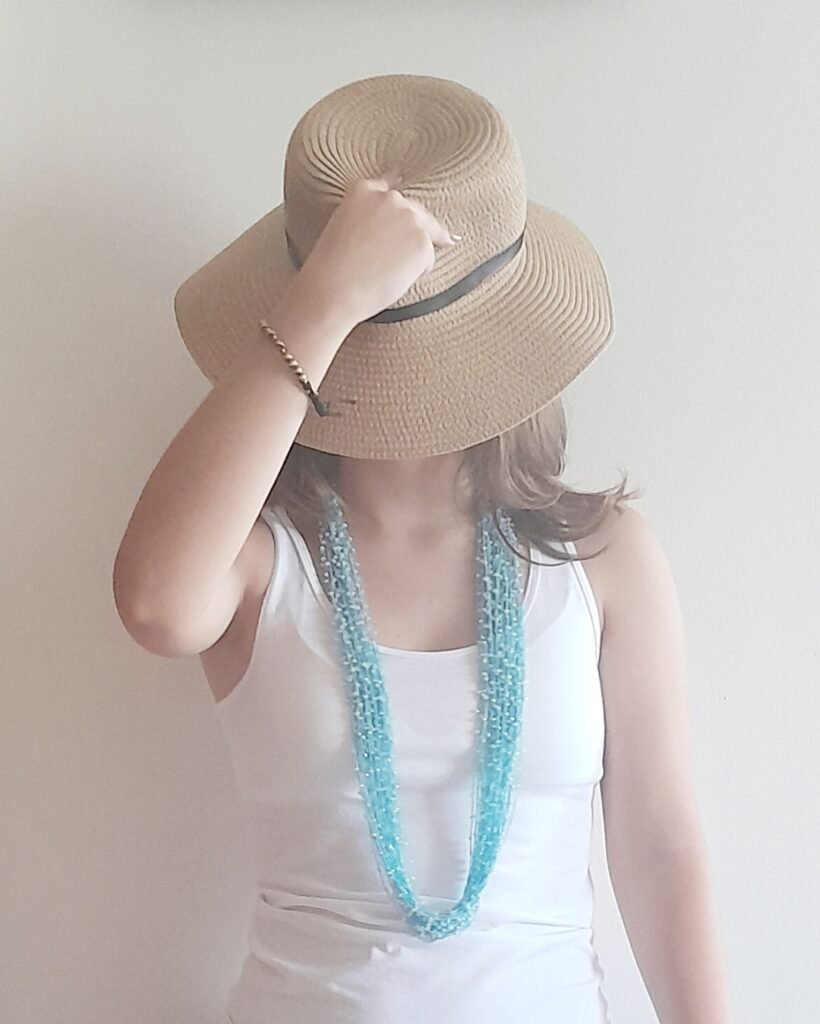
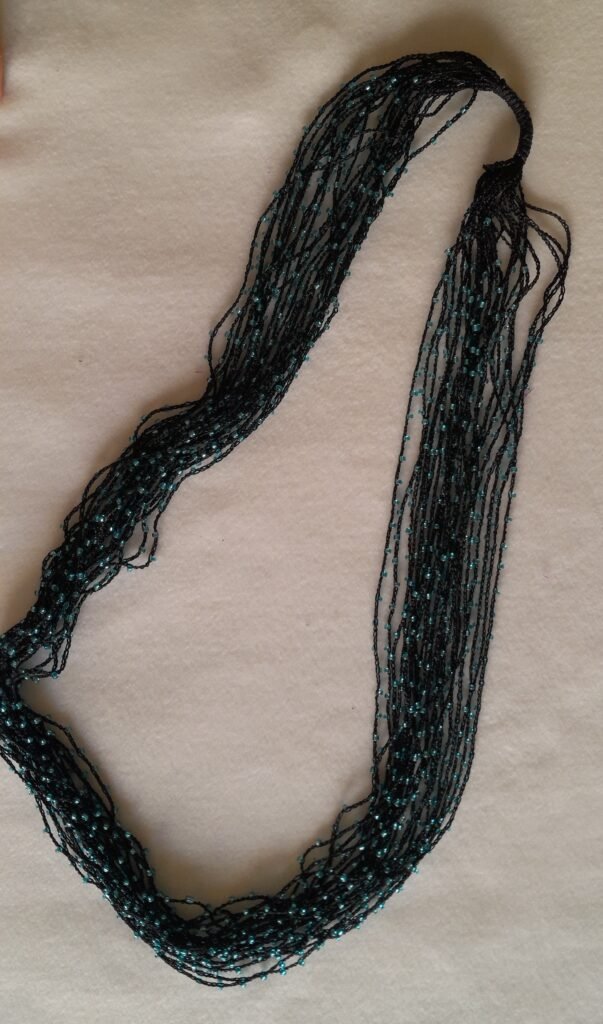
“Crochet easy seed bead necklaces with a pattern image tutorial” is based on a necklace idea I came up with last year. It’s addictive! I made about a dozen of them, wanting to try a new seed bead combination each time! Even beginners can make these, as the only crochet skill you need is chaining. The cardboard pattern simplifies the process, and you’ll end up with a beautifully intricate piece that looks deceptively difficult. Got some seed beads lying around? These make great gifts (Christmas, anyone?).
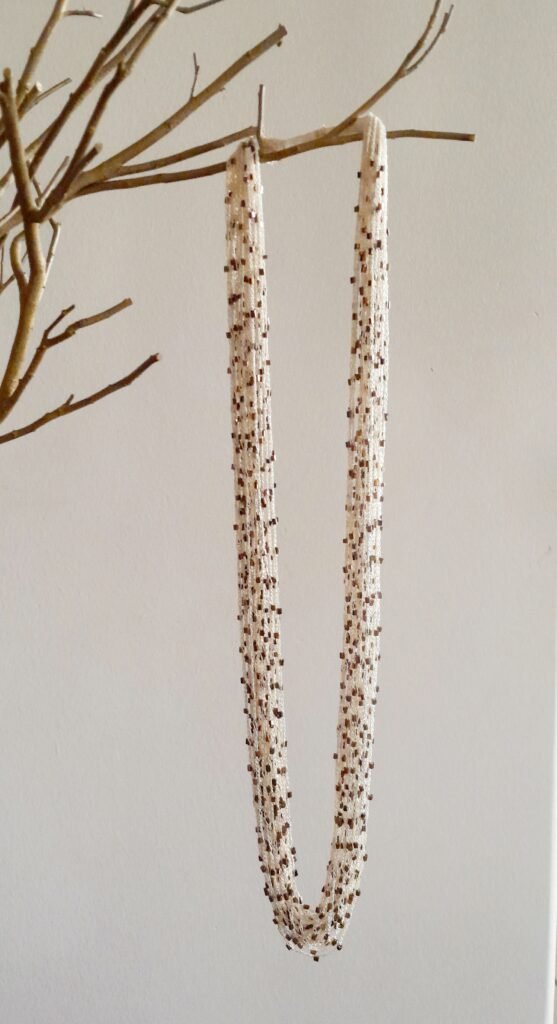
Level of Difficulty:
Easy
Techniques Required:
Materials:
Cardboard and markers (for the pattern)
A necklace for length reference
Small, round seed beads (1–3 mm) or metallic beads (avoid plastic, as they are too light for this project)
Thin nylon, silk, or rayon crochet thread (not cotton, it doesn’t have that sleek movement we are looking for)
Size 0.75/14 lace crochet hook
Scotch tape

Steps:
1. Create the Pattern: Use a necklace to mark the desired length on a folded piece of cardboard (mine was 50 cm /19.7 inches long and 9 cm /3.3 inches wide when folded in two). Mark 7 cm (2.76 inches) from the top as the “no beads area” for the neck. Make the same mark at the other side. Draw a straight line from top to bottom, 2 cm (0.79 inches) from the right edge to help keep your rows straight.

2. Prepare Beads: String your beads (you may need up to 80 to 100 beads per row). Mount enough beads on the thread for multiple rows. Prepare plain threads with extra beads strung to use. If you want, have a look at the relevant tutorial to see how to prepare and use the beads.

3. Crochet the First Row: Chain until you reach the 7 cm mark. Then, alternate 3 chains and 1 chain with a bead. Continue until the “no beads area” on the back of the pattern. Stretch the row to ensure the correct length, then switch back to plain chaining until you have reached the top of the cardboard. The first row is ready. Continue with the next row, and occasionally stop to secure the previous row with Scotch tape at the top to prevent tangling. Repeat this step for each row, stretching before securing.
4. Repeat Rows: Continue crocheting and securing rows until you’re satisfied with the result (24 rows in my example). When you need to add more beads, cut the thread at the top, reload, and start from the top again. This way, loose ends will be hidden with the final macramé knots.
5. Add Macramé Finish: Remove the pattern. Using the same or thicker thread, make macramé square knots around all rows together, starting 2 cm (0.79 inches) from the top and finishing 2 cm (0.79 inches) after it. Try to cover thread ends with the macramé.

Tips:
- Counting: Count the chains in the “no beads area” and the beads in a full row to help speed up the process and predict if you’ll need more beads.
- Bead Quantity: String beads for 3–4 rows to start. Once comfortable, increase bead amounts. Too few beads will result in more thread cutting; too many, and sliding beads down will be tiresome.
- Custom Motifs: Adjust the chain-to-bead ratio to your liking. Larger beads may call for more chains between each bead.
- Row Count: Smaller beads (like 2 mm) may require around 30 rows, while larger beads need about 25 rows. Adjust to your preference and row thickness.
- No Beads Area: Keep this area bead-free for comfort, but don’t stress too much about keeping exactly to the 7 cm mark. You may even wish to make this area longer for faster results.
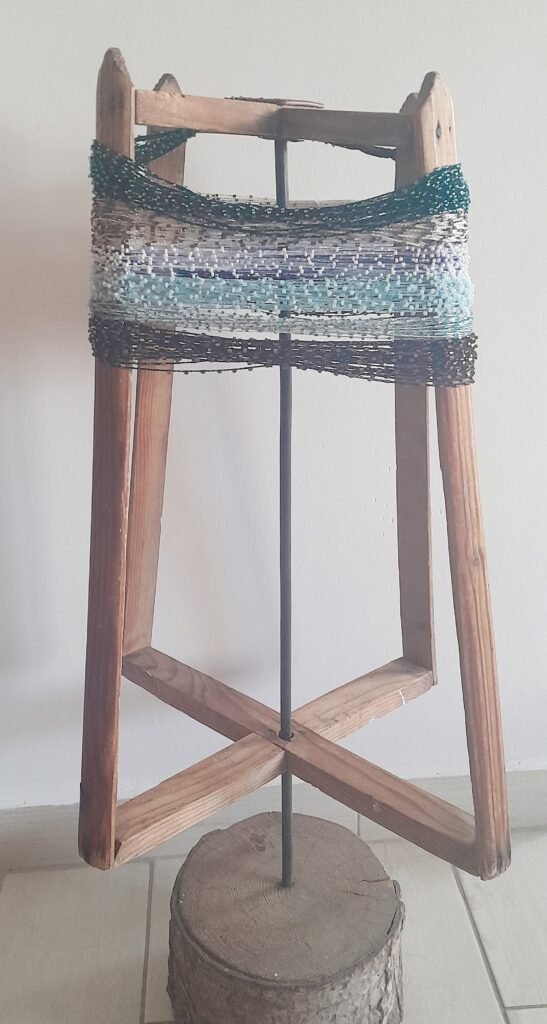
6. Shaping the Necklace: If the necklace doesn’t hang perfectly, spray with water and shape it around a round object (a bowl or pan) to stretch it. I used my grandma’s reel making contraption. It is about 80 years old and I love it!
7. Storage: Store your necklace hanging or flat to avoid tangling.
Learn from My Mistakes:
My first attempt was made with cotton thread and lightweight plastic beads. The result was disappointing, and I couldn’t even keep it around to long enough to take a picture—the necklace had no movement. That’s why you will see that in the ” Crochet Easy Seed Bead Necklaces with a Pattern- Image Tutorial’ I emphasize on avoiding these two materials.
Conclusion
Depending on your beads and thread, this necklace can work great with casual outfits or enhance a plain evening dress. Once you make the cardboard pattern, you’ll find it’s a great opportunity to make several for wonderful handmade gifts. Chances are, though, that once you start experimenting with different beads, you’ll have a hard time deciding which necklaces to give and which to keep. That’s exactly what happened to me—I still find myself wearing the gifts-to-be!
