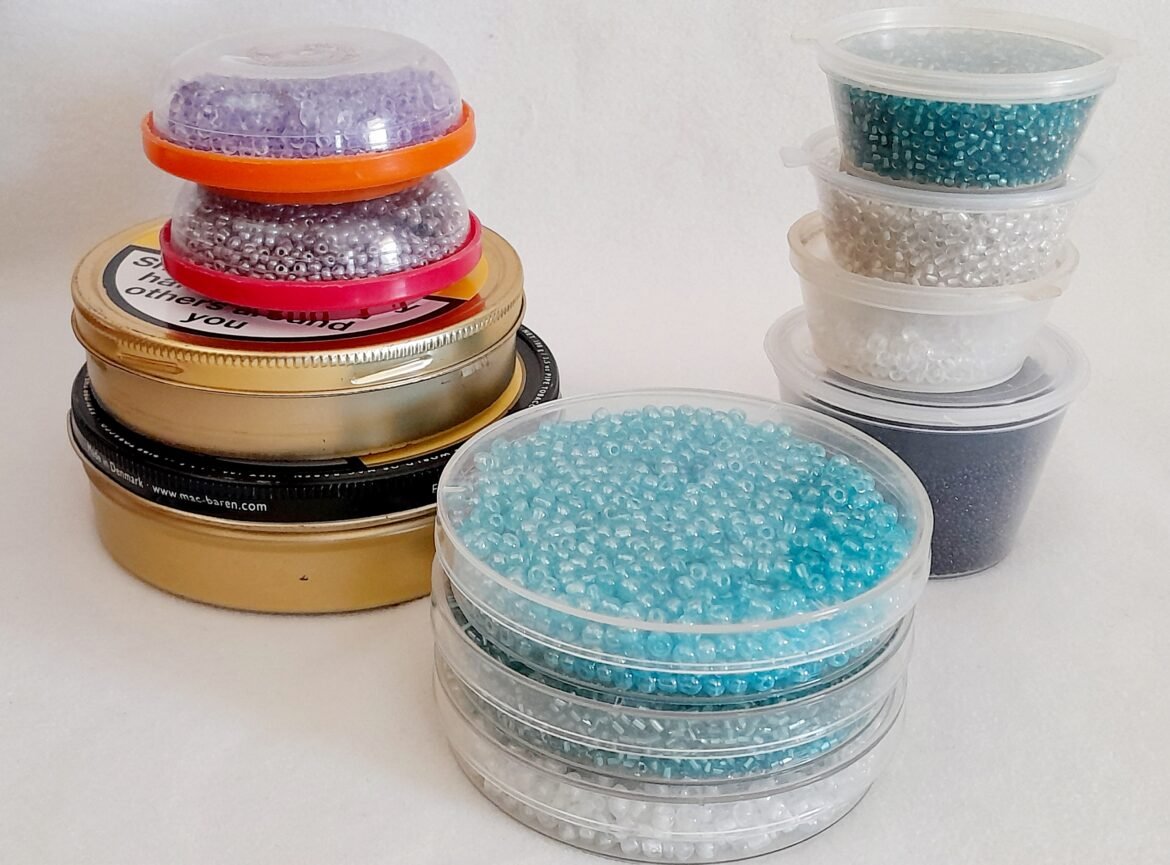
I love seed beads—the more, the better! In “Seed Beads – Stringing, Storing, and Transferring Them Easily,” I want to share with you my tried-and-true techniques for stringing seed beads super fast and storing them for future use. The stringing process is repetitive, which means I can easily do it while watching a movie. This way, I can prepare multiple threads with beads, store them, and use them whenever and wherever I want. Let me show you how.
A: Stringing Seed Beads
Use a bowl or a small, wide-brimmed jar to hold the beads. Let them be crammed together, as it helps with the stringing. You’ll also need some thread and a needle. A beading needle is thinner and longer than a sewing needle, but it’s more difficult to thread. However, you can use any type of needle you have, as long as it fits through the beads. The thread can either be the one you plan to use for your project or any sewing thread you have on hand if you are stocking the beads for future use.
Thread the needle, but do not cut the thread just yet—this will prevent the beads from falling off. Tilt the container with the beads slightly and plunge the needle into it. You’ll notice some beads already sliding onto the needle. Keep diving in and out until the needle is full. Then, move the beads down the thread and repeat the process. Twist the container occasionally to reposition the beads as you go. This process is mechanical, and personally, I find the sound of the beads quite soothing.
You can also use the same containers to store any loose beads.
B: Storing Strung Beads
If you plan to use the beads immediately, you’ll likely string the quantity you need and continue with your project. However, if you’re storing them for later use, you’ll want to cut the thread and secure it after a certain length. Make a double knot around the first bead and another one around the final bead, leaving about 20 cm of plain thread. This makes it easier to transfer the beads to your desired thread later. The total length is up to you—mine is usually more than 1 meter because I prefer to minimize the transfer work. Just be cautious, as the thread can get tangled, so it’s best to store it wrapped around a piece of cardboard.
To do this, take a small piece of cardboard, snip a cut in the center, and secure the first bead in the cut. Then, wrap the thread with the beads around the cardboard, securing the final bead in the same cut.
C: Transferring Strung Beads to the Desired Thread
To use the beads, simply snip off the knot at the first bead. Lay the thread with the beads horizontally in front of you. The new thread you want to use should go vertically on top. Next, use the thread with the beads to tie a plain knot around the new thread. Then, use your fingers to gently slide the beads from the preparatory thread onto the new one—and that’s it! You can string as many beads as you need, whenever you need them, saving yourself a lot of time.
Conclusion
When working with seed beads, you’ll often need a large quantity of them for a single project. With “Seed Beads – Stringing, Storing, and Transferring Them Easily,” I hope I’ve shown you how to do this quickly and efficiently, so you can spend more time on the actual creation of your project. For example, the first project in “The Surprising Ones” category, which uses bottlecap rings, relies heavily on stringing a large quantity of seed beads. You might want to check it out!


